Now you too can get a perfect varnish finish without brush marks, streaks, spray lines, tacky or cloudy finish, or ruining your paintings!
(Learning these secret tips and techniques from Olga Soby today, will help you create a beautiful professional finish on your paintings – starting as soon as tonight)
Dear Creative Friend,
Have you ever looked down at a canvas, with a varnish brush or spray can in hand, wondering if you’re about to ruin your beautiful painting?
I know I have.
In fact...
I still remember the first time I varnished a painting that I sold to a client…
I had knots in my stomach as I dipped my brush in the varnish.
I didn’t know if I was using the right varnish or if I was applying it the right way. And I had a head full of questions like…
- Am I ruining the artwork I’ve poured my heart and soul into?
- Am I going to disappoint the client?
- What happens if something goes wrong?
I was not feeling confident about this varnishing step, to say the least.
But, I followed the instructions on the label… I did everything I saw people on YouTube do… and…
After wrestling with the varnish and brush for over an hour, I finally had it done.
(Or so I thought.)
Relieved, I went to bed. But when I came back to check on my painting the next morning… to my horror…
There Were Brush Marks And Streaks All Over It.
I was gutted.
“How can I call myself an artist if I can’t even get the varnish right?” I thought to myself.
Even worse, I had just ruined a perfectly good painting (the first of many).
Needless to say, I couldn’t sell that painting — not with visible brush marks in the finish, that would have been too embarrassing.
So, with great regret, I contacted the buyer and gave her the bad news.
(in photo: one of my early paintings
made in 2018 that was never sold
due to an epic varnish fail)
She was disappointed. But not as much as I was.
You see…
I Really Wanted To Sell My Art To Feel More Accomplished As An Artist
The idea of having my painting brighten somebody's home made me feel so excited and validated.
I also wanted to enter some of the local art fairs and get in touch with the local art community and potential collectors.
And, of course, I was eager to display my paintings in my home for my own pleasure… and… (If I’m being completely honest) to impress any friends or visitors who would see my art and know that a true artist lives here.
But How Could I Do All That If I Couldn’t Get The Varnishing Step Right?
The next few months were filled with a love/hate relationship with my art.
On the one hand, my art skills grew significantly, and my paintings kept turning out better and better… with more requests from eager art buyers who noticed me on social media and wanted to add my art to their collections.
But the varnishing part remained a mystery, filled with stressful and disappointing results.
And try as I might, I STILL couldn't get my finish right, especially on larger canvases.
I tried everything — brushes, rollers, sponges, pouring varnishes.
Every method brought new problems.
Roller marks, bubbles, pooling, tackiness.
Sprays weren’t an option either — fumes made indoor use impossible, and outdoor spraying was limited by the cold winters where I live.
So after many attempts, so many products, and countless ruined paintings…
I Gave Up On Varnishing.
Yes, I actually gave up.
I just couldn’t do it anymore.
And I switched to epoxy resin as a final coat instead (for over 2 years).
There was a steep learning curve — but with the right technique, I was eventually able to get perfect results.
Only problem was…
Many Of My Potential Clients Didn’t Want A Resin Finish On The Art They Buy
That's because resin has a very shiny, almost glass-like surface. As beautiful as I found it, some art buyers didn’t like it.
Not only that, but the thick resin surface flattens out any raised effects and textured embellishments, reducing the overall look and appeal of the art if you work with texture.
As I started to combine many raised effects and embellishments with my fluid art, the resin did not work with my new painting style anymore.
I was back to square one...
I Had No Choice But To Learn To Use Varnish Effectively… Or Forever Remain A Frustrated Artist
YouTube was no help.
It's full of contradictory, misleading, or incorrect advice. (For example, finishes recommended are not archival, don’t offer flexibility needed for canvases, or the techniques of application are wrong.)
To make things worse, most YouTube tutorials only cover basic varnish application techniques and products or show one specific method without explaining why it works and what to do if something goes wrong.
There’s no book or course I could find that walks you through all the steps to apply varnish masterfully.
It took me over a year of trial and error – and hundreds (if not thousands) of dollars of testing varnish brands, brushes, sprays, sheens, and techniques – to figure it out.
I finally got it.
And now, after 3 years of turning out one gallery-ready varnished artwork after another…
Plus hundreds of requests from artists who want to know how to master this final step…
I decided to finally put everything I learned into a brand new course!
(in photo: painting created and successfully varnished in 2022
- finally, no more varnish disasters!)
INTRODUCING:
"Varnish Mastery"
Imagine no more brush marks, spray lines, clouding, air bubbles, streaks, or uneven finishes.
No more confusion about which varnish to use on different types of paintings.
No more guesswork about how long to let your painting dry before applying varnish.
And no more anxiety about ruining your paintings at this critical final stage.
Instead, you’re left with beautiful protected artwork, proudly displayed or sold to eager buyers who love your work.
It's all possible with this new Varnish Mastery online course…
Because… after you go through the course… you’ll know exactly what to do, and what products to trust to get a perfect finish every time.

My students who went through the course already are raving about it:

“Olga, I just want to express my sincere gratitude for your Varnish Mastery course. It was absolutely fantastic! Your ability to communicate the details and nuances of the varnishing process with such clarity made it not only easy to follow but also incredibly enjoyable. Your art is an inspiration to me - so expressive, vibrant, and full of life - and this course has given me a deeper understanding and appreciation for the care and expertise that goes into preserving such beauty.
I really love how generously you share your knowledge and expertise, making it both easy to access and affordable for everyone. It is clear that you put a lot of thought into making this course valuable for artists of all levels.”
- Tracy N.

"Another course that is undoubtedly filled with so much knowledge and information.
Thank you for providing this course, as I've really considered varnishing a nightmare."
- Natalie A.
You’ll even discover how to do my highly requested
“Dual Varnish” technique
"Dual Varnish" is my signature advanced varnishing technique that I use when I want to create a stunning contrast between finishes.
It combines a subtle matte varnish for the negative space with a vibrant glossy finish on the main elements of the painting - bringing out depth and dimension for a high-end, gallery-worthy look.
Before trying this technique you must master the other varnishing techniques taught in Varnish Mastery.
I’m not going to give too much away here because you really do need a course with tutorials to explain and demonstrate the “Dual Varnish” method to you.
But I will say this:
My collectors and clients absolutely LOVE it.

And you’ll love it too, once you master it. It’s all covered in the course.
(I have a whole module dedicated to the "Dual Varnish" effect teaching the exact technique, nuances, composition, and more)
Not sure what does the Dual Varnish effect mean?
Check out this video:
But First, A Warning:
I don’t want you to take my course on Varnishing unless you are truly ready to take this important step in your journey as an artist.
You see, unless you want to get a perfect finish on all of your paintings and hang them on a wall or present them at the the art fair, or sell your art to collectors or art buyers, there really is no need to varnish your art – especially if you just “dabbling” and are not truly serious about your art.
But, if you have a finished artwork sitting in your studio right now that you want to protect, preserve, and dramatically enhance the appearance of…
Or you are serious about your art, but frustrated by how difficult this final varnishing step is, and you want to create gallery-grade paintings that are enjoyed long after you're gone…
Then this course will show you how to do it in the easiest way possible…
In fact, with the right supplies, you can start applying the secrets in Varnish Mastery to your own artwork as soon as tonight.
So, without further ado, here are some of the vital secrets you’ll discover in the course:
VARNISH MASTERY SECRET #1:
My Pro Tips For Preparing Your
Painting & Workspace Before Applying Varnish
Varnishing starts long before you actually apply the first coat of varnish.
Therefore in the first module, you’ll also discover…
- How to prep your canvas BEFORE varnish
- The right and wrong way to apply an isolation coat to your painting before applying varnish if you need it
- 3 scenarios when you MUST use an isolation coat (and when it's not necessary)
- The right temperature and humidity for applying varnish
And while we’re on the topic of temperature, did you know some varnishes should not be used above or below certain temperatures?
It’s true.
Same goes for the temperature of your canvas.
That’s why I share the type of varnish… and the right temperature for your canvas (and art room) so you can avoid problems like getting sticky wet varnish that doesn’t cure properly…

How long you should actually wait after completing a painting before applying varnish
There are 3 factors to consider.
Get even 1 wrong, and your varnish will stay tacky long after it dries.
Plus, how long should you wait before applying a second coat of varnish?
Actually, the length of time between varnish coats depends on the brand and “family” of varnish you use, and the method you use to apply the varnish.
I give you guidance on all of this to make sure you get beautiful, uniform sheen when applying a second layer.
And that’s not all you need to know about your workspace.
You also need to know:
- How to set up your workspace to stop your varnish from cracking due to accelerated drying
- The materials I put on my table before I lay down a canvas to protect my tabletop
- What to do if you have pets, to keep hair from floating onto your painting during the varnishing stage
- A little “trick” I do to almost all of my paintings before applying varnish to enhance my artwork
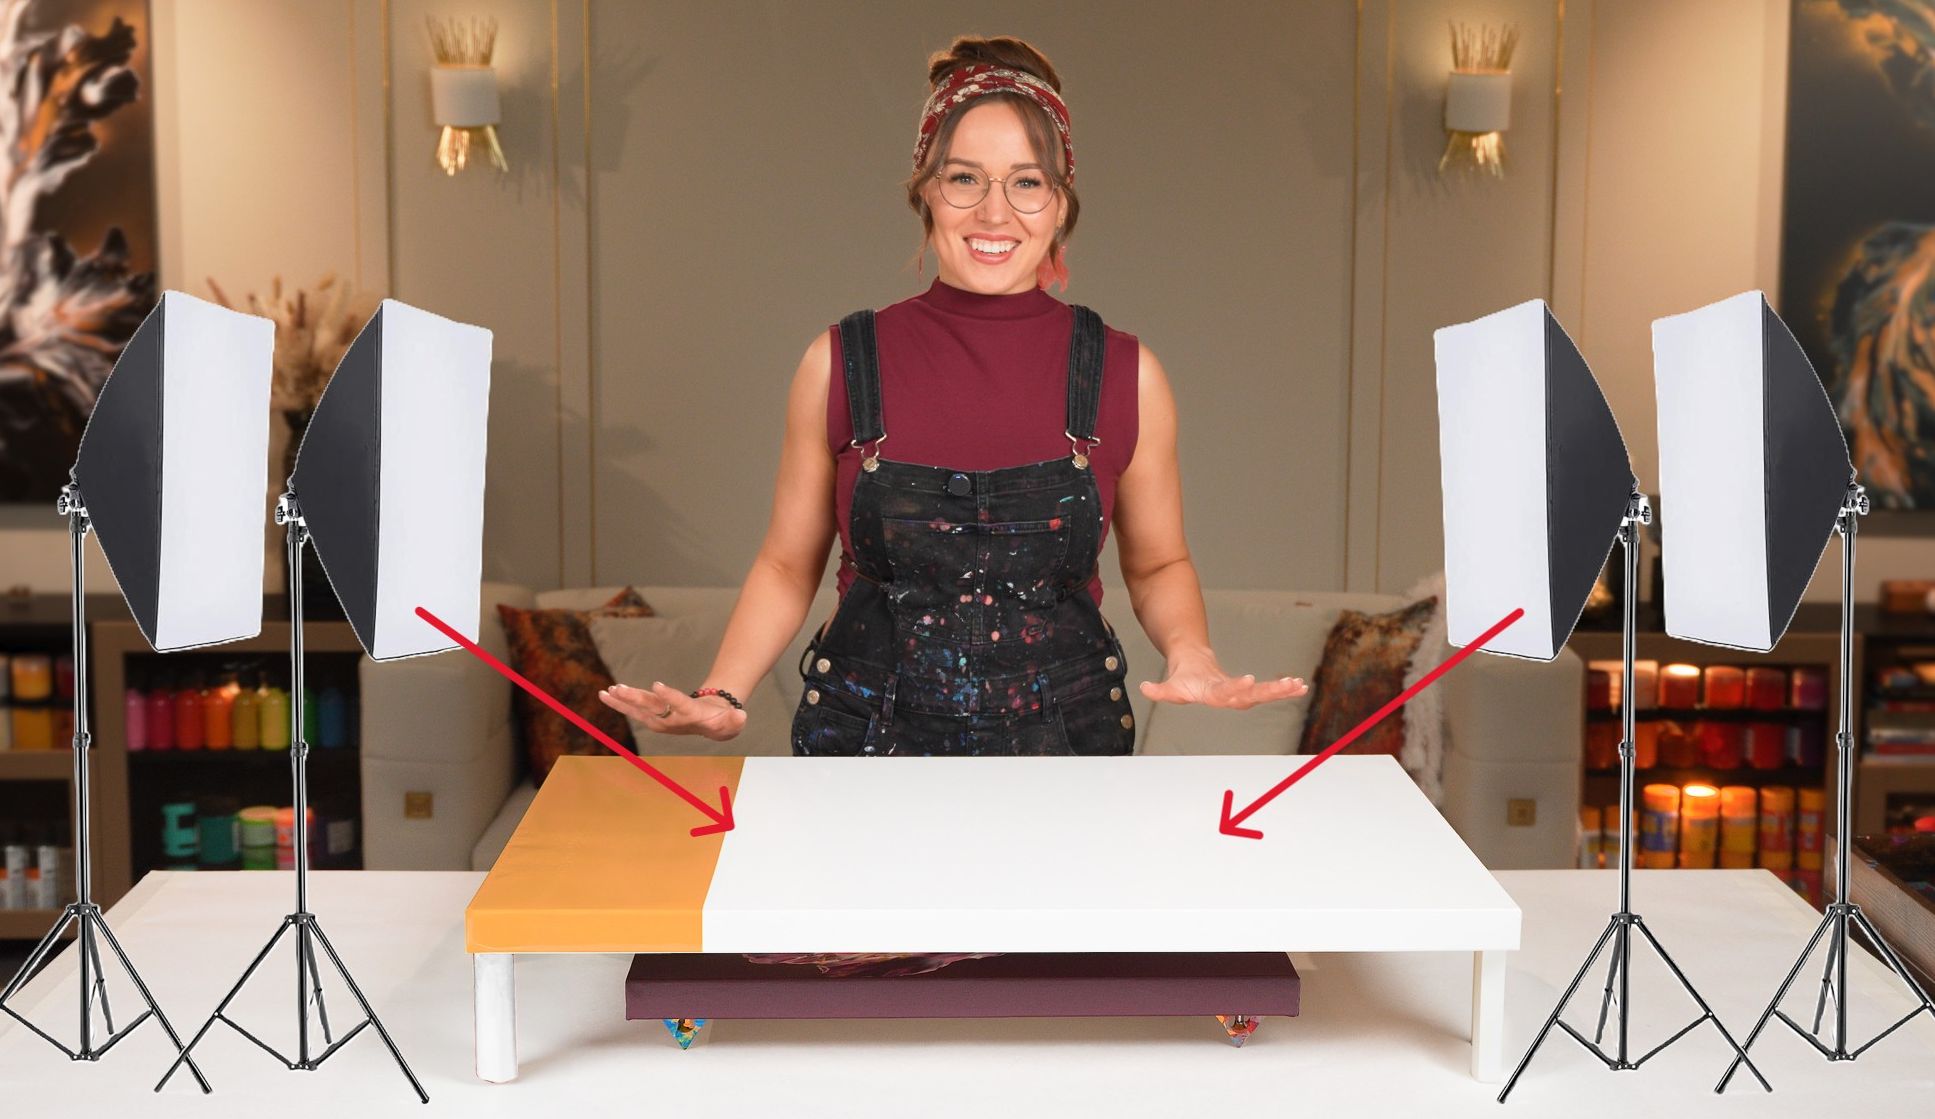
- The correct lighting setup to make sure you can see the varnish clearly and get proper coverage
Speaking of lighting, there’s nothing worse than hanging a varnished painting only to discover you missed a section because you couldn’t see it properly while applying the varnish.
That’s why using the correct lighting while varnishing your art is so important.
And it’s why I show you…
The exact lights I personally use
(I got them cheap on Amazon)
There's even a whole section on safety when working with varnish. Including eye protection, breathing respirators, and more.
Plus…
VARNISH MASTERY SECRET #2
My Favorite Varnish Brand That I Use On
80% Of My Paintings
The best part about this varnish is…
It’s almost impossible to get brush marks or make a mistake if you follow my instructions.
Even better: You don’t need to be as careful with this varnish as with all other varnishes on the market.
But only if you use the exact brand I show you (it’s available in many countries all over the world and online).
I tested over 50 varnish brands to finally find this one.
And I’m so glad I found it because it has made a huge difference for me.

And speaking of testing products… you’ll also discover:
- Which varnish to use when my personal favorite isn’t available or isn’t a good fit for a particular piece of art
- How to choose from the hundreds of different varnishes to get the exact right varnish for your paintings, regardless of what pouring or painting techniques you use.
- Which varnishes can be used on acrylic art and which ones can’t? (Some popular budget-friendly varnishes have been recommended to artists for use with acrylic pour paintings.
But they are not formulated for acrylic paint, and might ruin your artwork if you use them.) - A breakdown of the strengths and limitations of many different varnish types so you can make an informed decision about which varnish will suit your artistic style, budget, and art goals.
- Which varnish brands cannot be used together (and which ones can)
- And much more

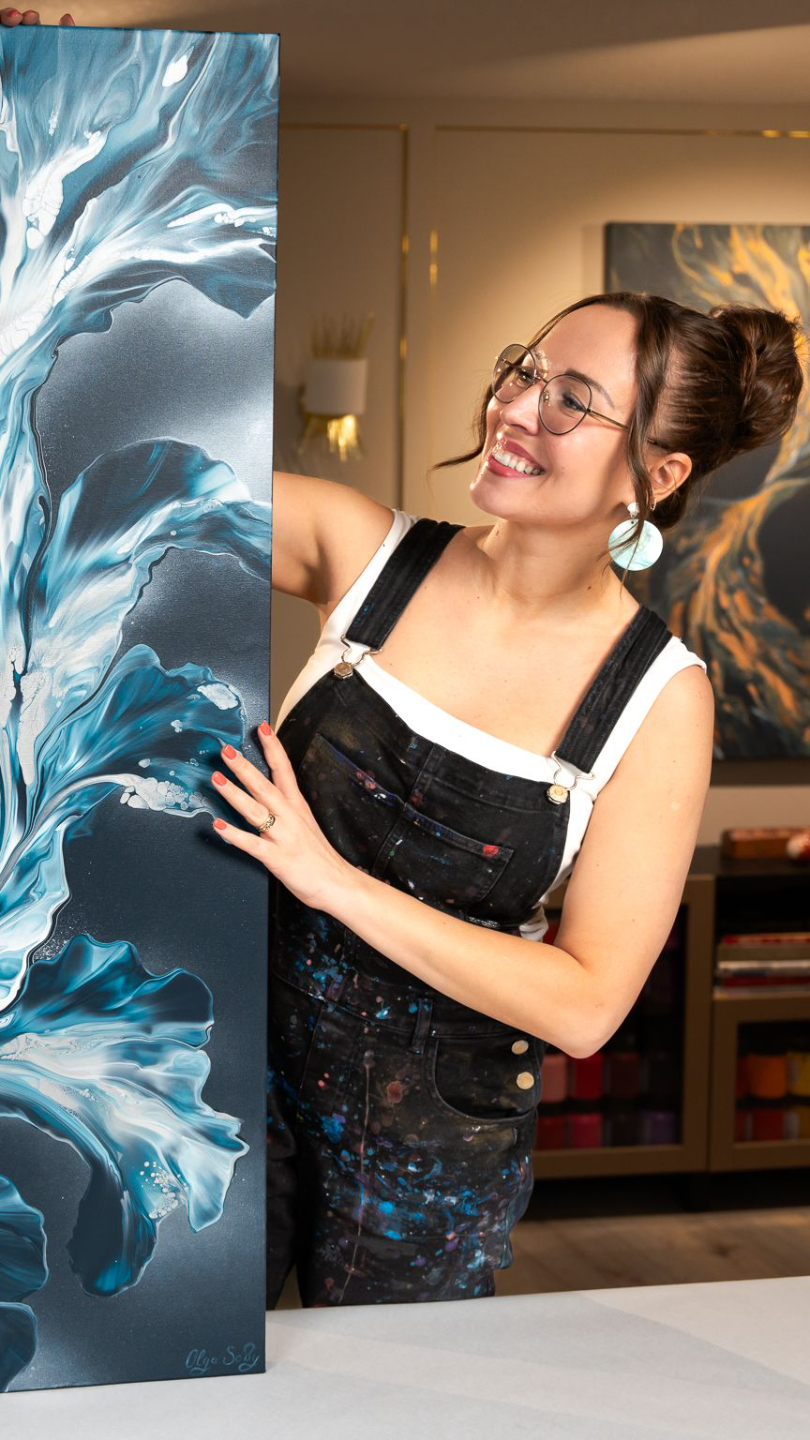
(in photo: me and a painting covered with my most favorite varnish and brush-on technique)
3 Types of Varnish:
To state the obvious, varnishes come in three finishes, Matte, Gloss, and Satin.
Of course you know that.
But did you know there’s a different technique for working with each sheen?
There is.
And it's important that you know how to apply the 3 sheen types to your art to get the flawless finish and effect you want.
Otherwise, you’ll just be disappointed with the outcome and not know why it’s not working out the way you hoped.
Plus you’ll discover:
VARNISH MASTERY SECRET #3
How to apply Brush-on (liquid) varnish
without brush marks
(Even on a huge canvas)
You need to know these secrets if you use brush-on varnish.
For example:
- The exact brand of brushes I use for brushing on varnish. It’s expensive, but it’s worth every penny, and after using it for 3 years, it still feels like new
- The type of brush to get if you're on a tight budget. But I must warn you, the type of brush you use has a direct impact on the quality of your varnish finish. And the problem with cheap brushes (and believe me, I’ve tried them all) is the bristles “shed” and there’s a risk that one of the rogue bristles will get stuck in your art
- The correct saturation of varnish on your brush
- How quickly you need to complete varnishing your art from start to finish. (This depends on the size of your art and how many artworks, but I’ll give you my rule of thumb.)
- My “scrubbing” and "feathering” techniques for perfect coverage
Why You Should Almost NEVER Follow The Directions On The Label About How Long Your Paint Needs To Dry Before Applying Your Varnish

- The tools I use when applying varnish to get the perfect professional finish
- What to do if you miss a spot on your canvas during your varnish
- What to do if varnish “pools” while it’s still wet in an area of your painting, especially around textured areas
- Why your varnish cracks or repels when used on paintings that use silicone oil and how to fix it fast
- How much varnish to use… and how to avoid using too much (too much can be a disaster)
I also reveal:
- How to easily varnish even a large painting
- The best products for cleaning your brushes after you use them
- How long to wait after the varnishing
- And much more
What To Do If You Want To Change The Sheen Of Your Painting After Applying Your First Varnish Coat
For example: Let’s say you used a gloss finish, but when you hang your painting, it looks too “shiny,” and you want to tone it down with a satin or matte finish.
Or you used matte, but your colors look flat or dull… and you want to bring back the vibrancy of your colors or make your metallic colors “pop”.
You’ll see the right and wrong varnish brands to use when changing the sheen.
And the right and wrong methods to apply different sheens inside Varnish Mastery.

"Thank you so much for taking your time to explain and show these helpful techniques on how to varnish a work of art the right way. And I love how you post the products you use, it makes it so easy to get the right tools to make your paintings so beautiful. I have learned a lot from all the courses you have done. I always find it helpful being able to go back and rewatch any segment on a technique you have taught."
- Rosemary D.
Are you starting to get the idea there are some nuances about varnishing that you’ve been missing?
You are?
Good.
You’re not alone.
I estimate from the questions and comments I receive each week that more than 90% of fluid artists are completely oblivious to these nuances for varnishing fluid art.
And I don’t blame them.
After all, varnishing fluid art is NOT the same as varnishing any other type of art or any type of surface.
And most varnishing products that can be used for other purposes – even those recommended for art – are NOT suitable for fluid art.
They simply don’t work on the type of paintings you and I are creating.
But do you know what?
We are not finished yet… not by a long shot.
Here are even more insights revealed inside Varnish Mastery:
VARNISH MASTERY SECRET #4:
How to Properly Use Foam Brushes for Varnish Without Leaving Streaks
The problem with sponge brushes is they don’t last long – usually good for four paintings – and to me, it’s worth investing in a quality brush – especially when a good quality brush can last several years when you clean it the way I show you in the course.
However, I’m not against using sponge brushes, and I show you how to use them to get the best results, including:
- The right amount of varnish to apply to a sponge brush
- How to use a sponge brush to remove excess varnish to avoid damaging your artwork
- The best techniques for applying varnish with a sponge brush
- How to clean and store sponge brushes to increase the number of times you can use them
- And much more

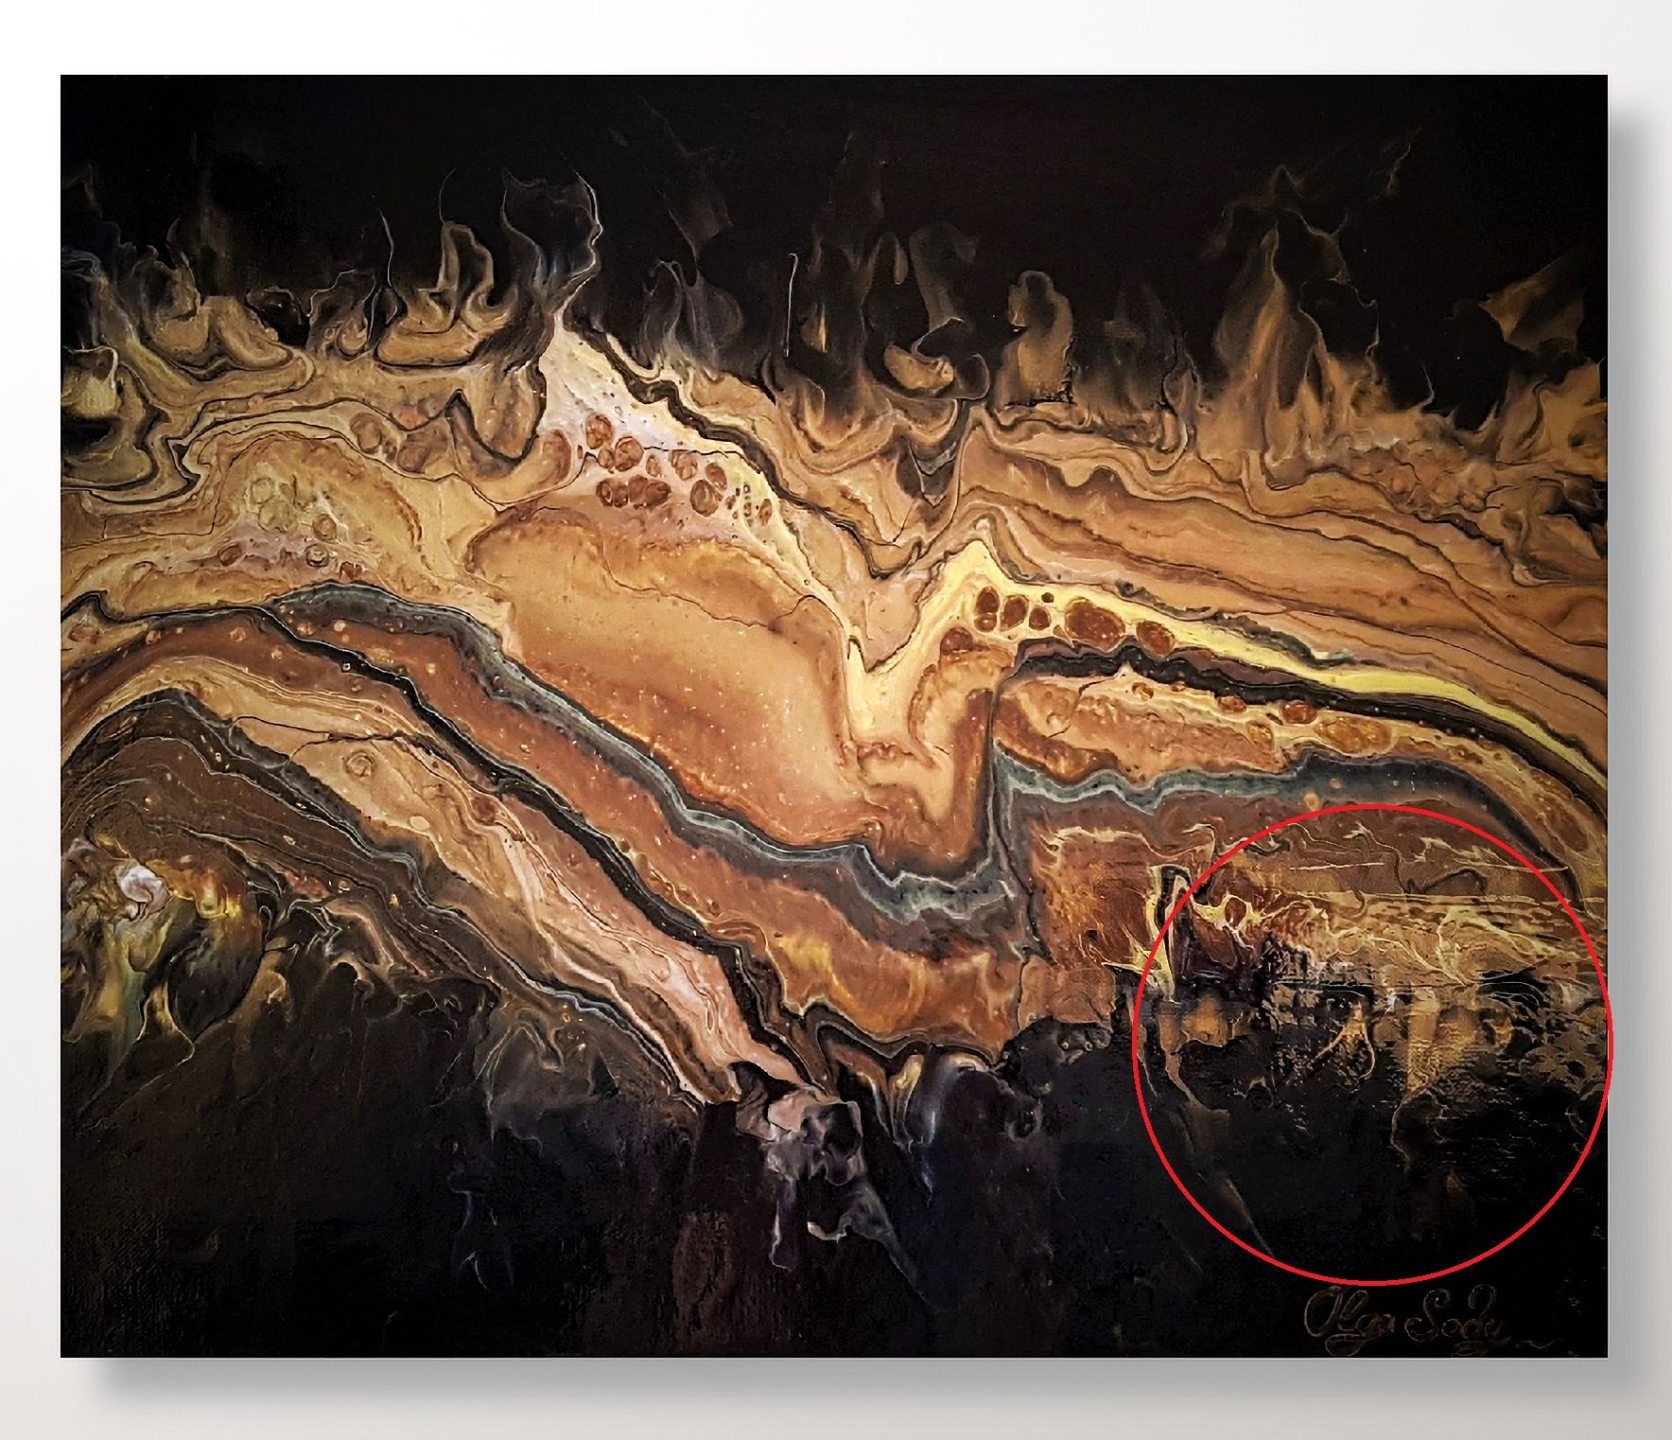
Check out the transformation of this painting after I varnished it using the foam brush:
Let’s take a short breather.
We’ll get back to the secrets covered in the course in just a minute.
But first, let’s talk about why these varnishing secrets are so important to you as an artist:
I strongly believe that varnish is NOT an afterthought.
And it’s NOT something you “just have to do”.
Varnish is part of your art.
And when you do it right, varnishing elevates your artwork to a whole new level of professionalism and really WOWS everyone who sees it.
So, to make sure you get it right, here is another method I included in the course:

"You really did your homework on this course! It was so complete. I really tried to think of something else that you may not have covered but alas it was all there. There were lessons that I didn't know after all these years. Your recommendations for varnishes were so helpful and I now have my favorite varnish. It is SO much easier to work with, so thanks for that.
The production of the course was also very professional with close ups that were very helpful. I know they must have been very difficult to get. So, thank you for putting together all this information in one delightful course."
- Pam S.
VARNISH MASTERY SECRET #5:
How to Use Spray-On Varnish For a Professional Finish
I get a LOT of questions about using spray varnish. And I answer everything you need to know in the course.
For example, there are dozens of spray varnish brands. And the quality and performance varies dramatically.
But after testing dozens of spray-on varnishes, I can now share with you my favorite spray-ons that work incredibly effectively.
In fact, inside Varnish Mastery you’ll discover:
- How to avoid spray lines or a milky, cloudy finish when using spray varnishes
- Which spray-on varnish to use if you can’t stand the smell of varnish…
- The exact spray on varnishes to use if you want your painting to look as good in 40 years as it does the day you varnish it
- My personal “black-list” of spray varnish brands to avoid at all costs – even though I see them being actively promoted on YouTube
- Safety precautions when working with spray varnish
- How to set up a temporary “spray booth” when working with spray varnish to avoid spray lines and other unwanted effects – complete with the right ventilation, protection from wind and dust, and perfect for working with any size canvas
- Things to consider when using your garage as a spraying area
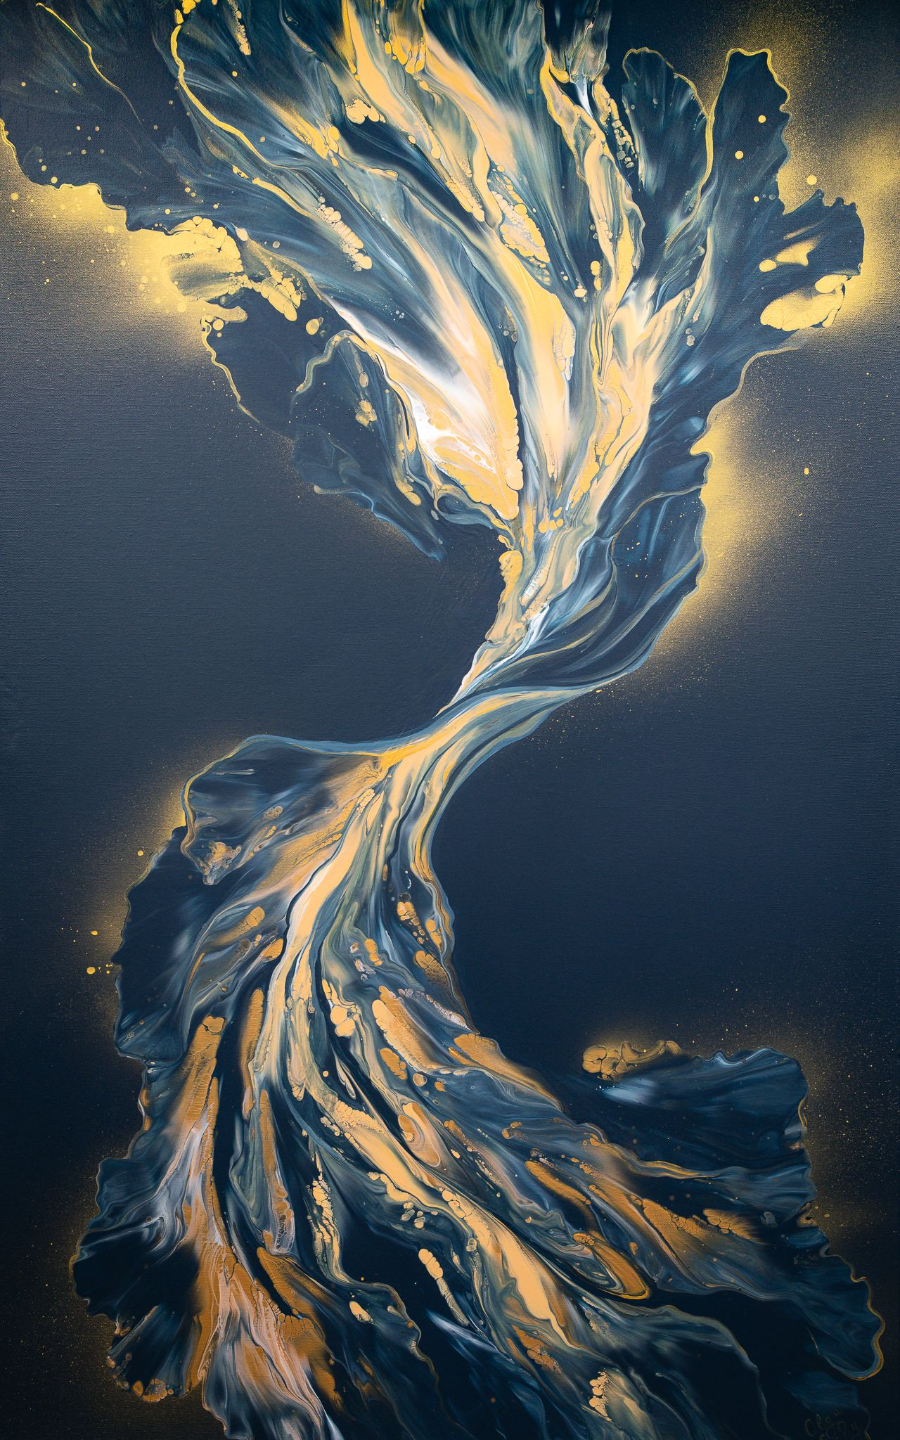
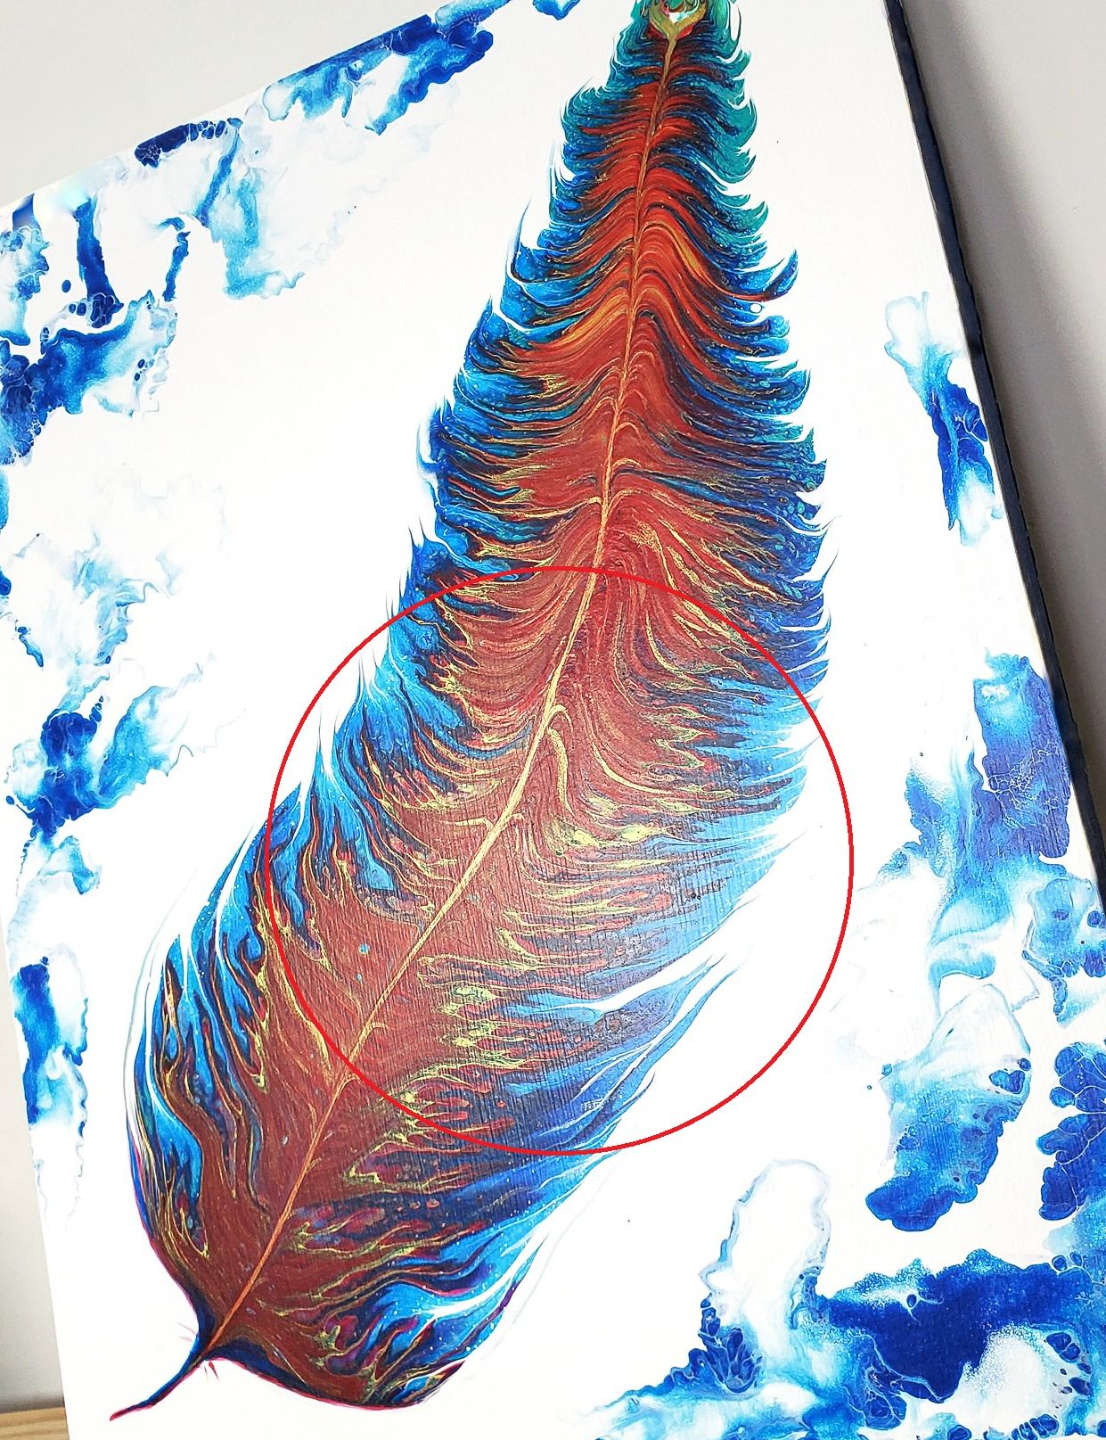
(in photo: example of a painting varnished using
spray-on technique that I teach in this course)
- How to avoid getting drips of varnish on your art when using spray? (Drips are virtually impossible to remove, so it’s critical you take every precaution to prevent them – one small mistake here and tears are bound to follow.)
- And (you guessed it) much more
Including where to store your painting while the spray varnish dries… how soon can you hang your painting after applying spray varnish… and how long before you can pack and ship your art.
There’s more.
But this page is already quite long.
And although I could go on for another 20 minutes about everything you’ll discover in the course… and how much relief and satisfaction you'll feel now that you can finally apply your varnish with confidence…
What you’ve just read is a fairly detailed description of what you’ll discover inside this comprehensive course.
And I think you’ll agree, this is…

"WOW, WOW, WOW.
Hi Olga, I just wanted to say a huge thank you for your Varnish Mastery course!
As someone still pretty new to fluid art, I was honestly a little intimidated by the idea of varnishing — I had no idea where to even start. But your Varnish Mastery course completely changed that for me. I was blown away by how detailed, organized, and easy to follow it is. I love how you walk us through every step with so much care and clarity, and how you explain the why behind each step, which really helped it all click for me.
What surprised me most was how many little tips and ‘secrets’ you shared — things I didn’t even know could go wrong, and how to avoid them. I feel like I’ve skipped years of trial and error thanks to this course. It’s rare to find a teacher who puts so much thought into making sure beginners feel confident and empowered. I’m so glad I took this course — now I actually look forward to varnishing my pieces!
- Mike L.
The Most In-Depth Varnishing Course
Ever Created
And the best part is:
- The course is designed for ALL Levels – whether you’re just starting or looking to refine your technique, this course will help you achieve flawless results every single time.
- It includes troubleshooting & pro tips – to make sure you avoid and fix common problems like brush marks, sticky finish, cloudiness, cracking, uneven sheen, and more.
- You get step-by-step guidance – on everything from preparing your workspace to choosing the right varnish for your artwork – I’ll walk you through every step.
- And it comes with lifetime access to all course materials and future updates - so you can work at your own pace and rewatch the lessons as many times as you need!
- Plus you get step-by-step instructions to achieve my now famous “Dual Varnish” technique:
I wish I’d had this course when I started using varnish...
Students who have benefited from my other courses will attest that I leave no stone unturned when I create a tutorial-based video training like this.
That’s because I present each lesson in a simple, straightforward and detailed way so you “get it” instantly (or after watching just one or two times).
"Hi Olga and thank you so much for this course. I’ve been doing fluid art since 2018 and have ruined quite a few with varnish so I gave up on it.
I looove fluid art and I have spent thousands on recipe experiments during my fluid art journey, so when I found out about this varnishing course I jumped on it because I cannot imagine going through the learning process cost wise with varnish too!!
You and this lovely course have eliminated all of that for me. And your dual varnish technique I just love so much. Thank you, thank you so much for taking the time to be so incredibly detailed about every kind of varnish and what they do and how they work. You can really tell that you put a lot of time and love into the contents of this course for us. "
- Jocelyn W.
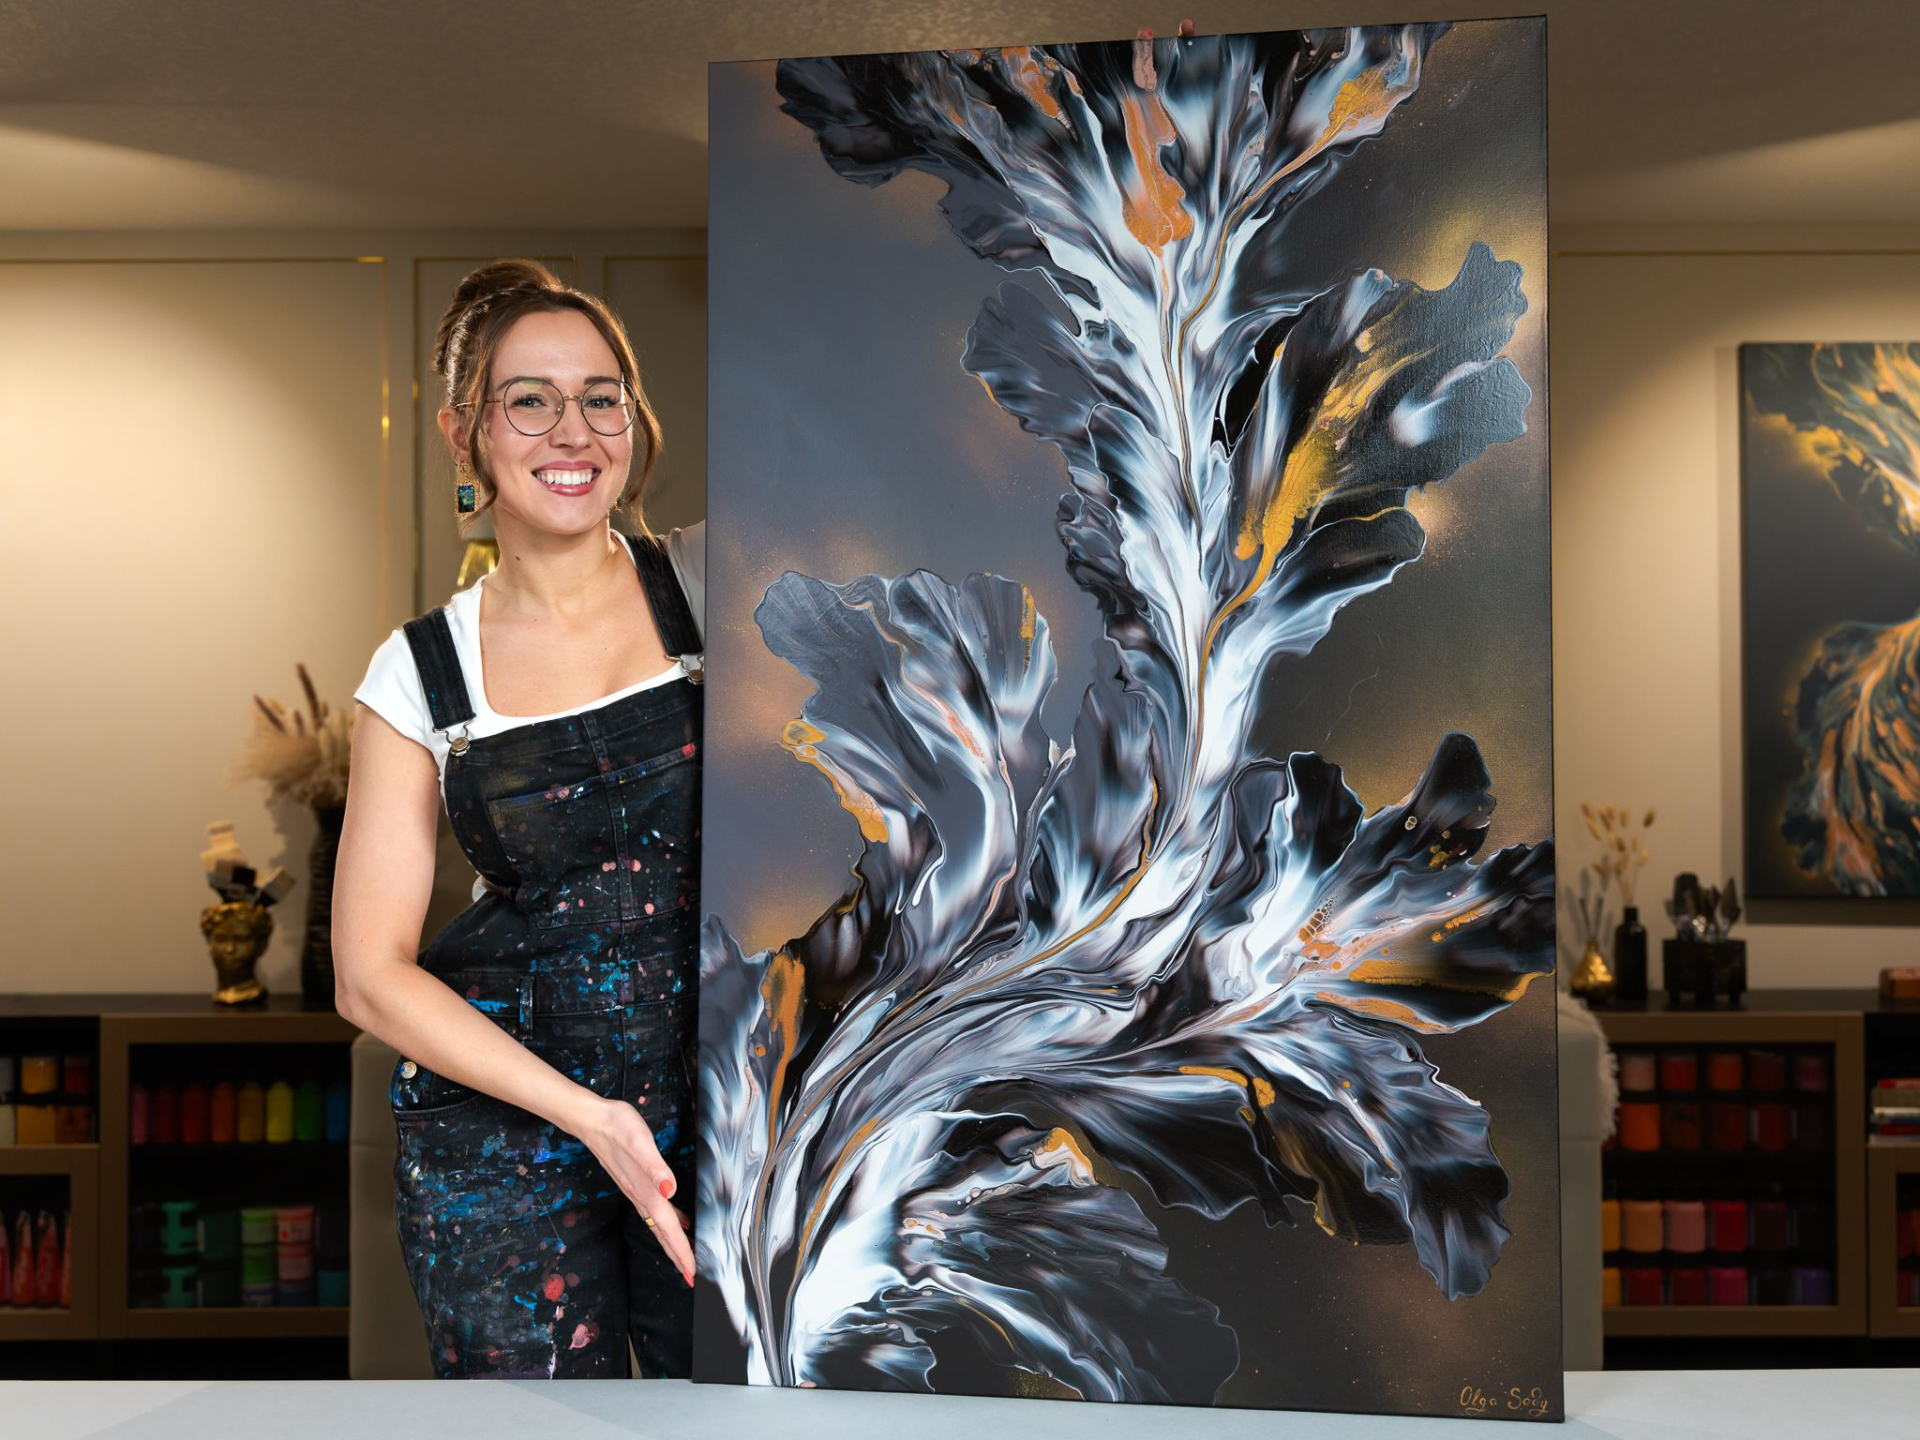
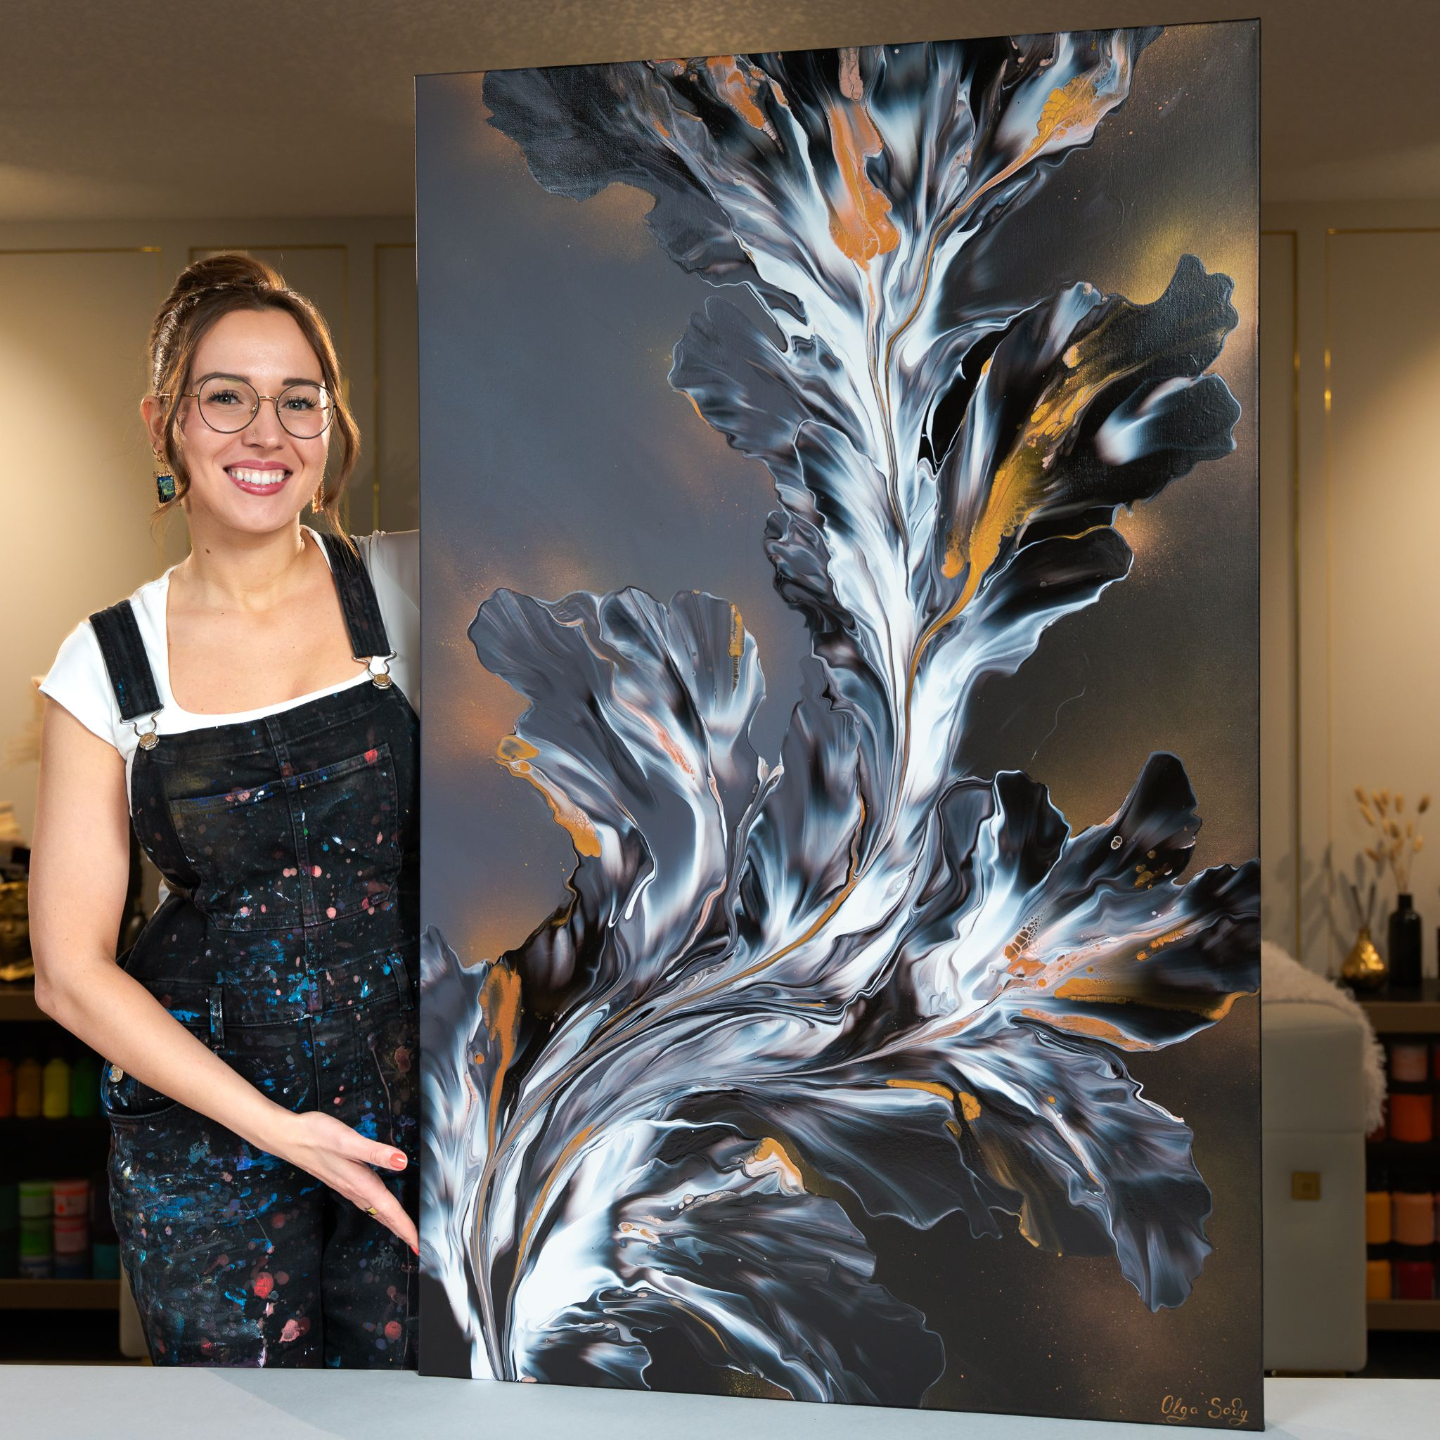
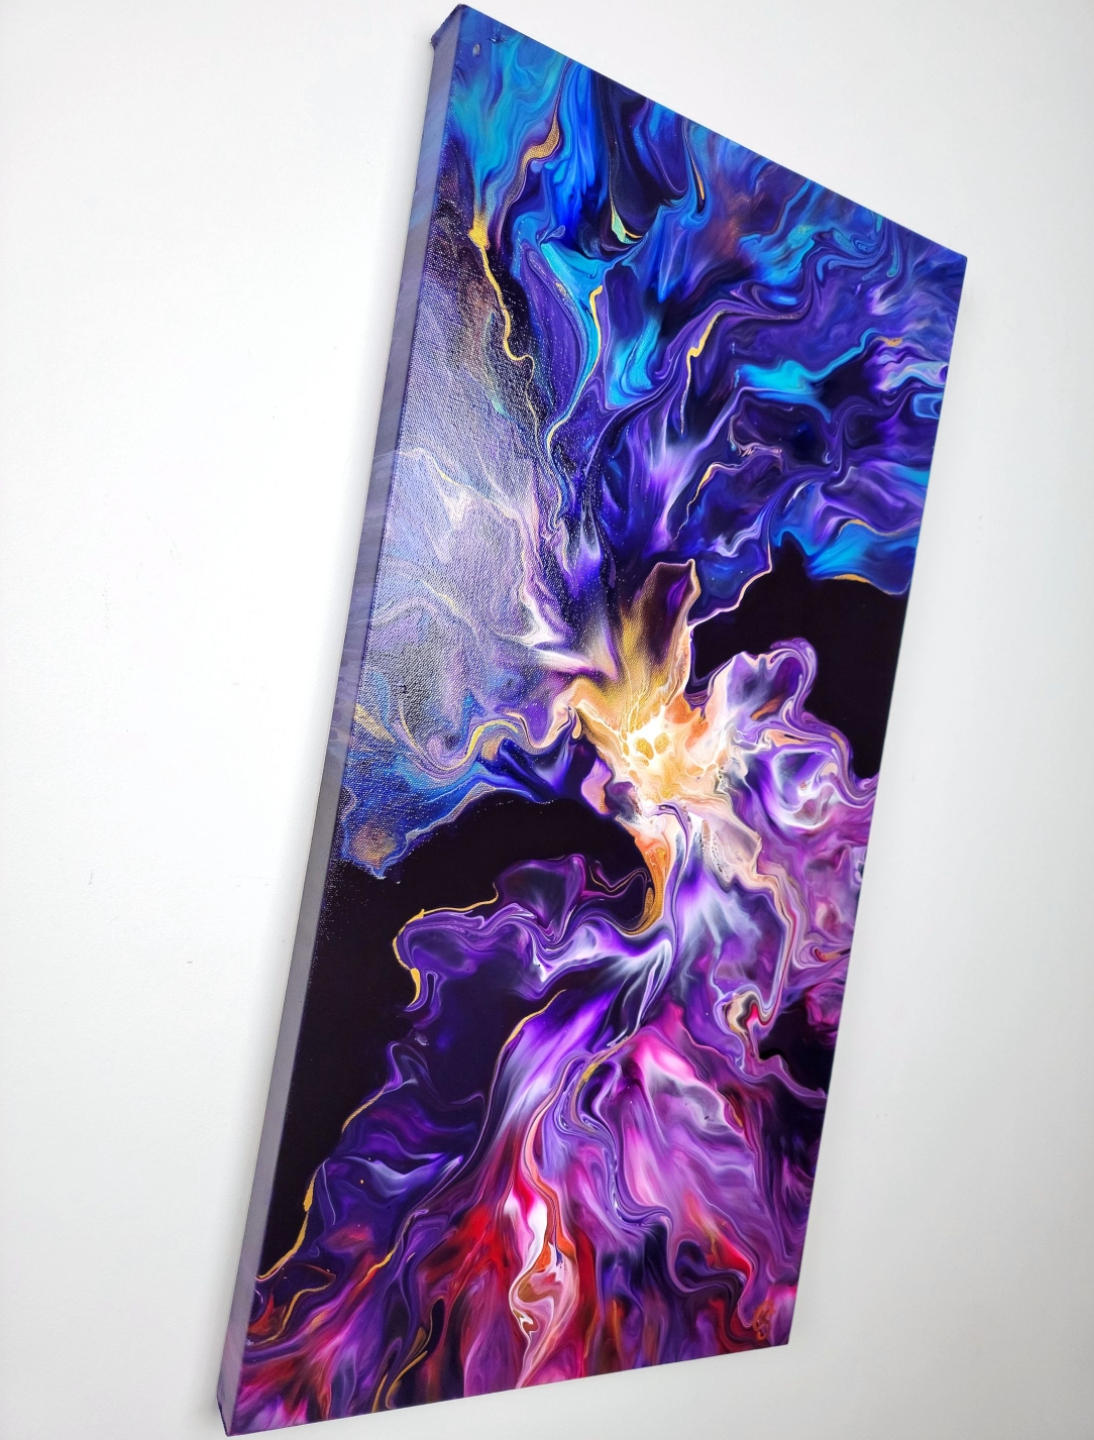
(in photo: example of a painting with "Dual Varnish" effect)
And, I not only answer your questions in detail, I demonstrate the answers with tutorials using my own artwork. You literally see me varnishing some of my most recent paintings. After all, there is no better way to learn than to…
See Every Technique Demonstrated First Hand,
As If You Were In My Studio,
Looking Over My Shoulder
That’s the experience you get when you watch my new course on “Varnish Mastery.”
And for that reason, I could easily justify charging $500.00 or more for this course.
After all, the trip to my studio to see all these techniques and insider information in person has to be worth at least $500.00, right?
However, I’m not done yet because…
Enroll in Varnish Mastery today and
get instant access to these 3 valuable bonuses:
BONUS #1:
Downloadable Varnish Checklist
(Value: $59.00)
There’s a lot to learn about varnishing and a lot to remember, especially if you’re new to varnishing.
So to help you remember key lessons in those moments when you need them the most without having to rewatch the entire module inside the course, I created this downloadable checklist to keep handy every time you varnish your art.
It gives you tips on everything from workplace setup to making sure your painting is ready for varnish to varnishing and the final quality check.
BONUS #2:
Gloss, Satin, or Matte?
How to Choose The Right Sheen For Your Art
(Value $120.00)
Inside the main course, I share the most important tips and techniques for selecting sheens and applying varnish for a gallery-grade finish...
However, if you’re determined to take your art to a whole new level of balance, harmony, and professionalism, you need to know which sheen will work best for your color palette, technique, texture, and your personal preference.
You will even learn how to use sheens to hide imperfections and elevate the visual appeal of your paintings.
Inside the bonus, I will show you:
- How to select a varnish that will enhance your artwork
- How to choose the right sheen to match the color and texture of your paintings
- How to use varnish to add depth, dimension, or vibrancy to your color palette
- How to choose the right sheen when selling your art or painting on commission (including the types of varnish finish art buyers and collectors want - it’s different for every type of buyer)
- How to use varnish to hide textural imperfections in your paintings
- And much more
BONUS #3:
Varnish Troubleshooting
(Value $89.00)
In this bonus section I’ll show you the most common varnishing problems and how to fix them.
Most common mistakes can be avoided by following the techniques in Varnish Mastery. However, if you already have a painting you need to fix, or you make a mistake while following the lessons in the main course, these bonus tutorials could save your painting.
For example, you’ll see:
- Advanced tips for avoiding brush marks, streaks or spray lines in your varnish (plus what to do if you already have them)
- How to fix and remove dust, hair or other debris from wet or dry varnish
- 3 Techniques to fix a cloudy or milky finish and how to prevent it happening to your painting
- 3 Quick and easy ways to fix a painting with sticky varnish (even if it’s still tacky months after applying your varnish)… plus 4 mistakes to avoid that almost always result in a sticky or tacky finish
- How to fix and prevent an uneven coverage of varnish on your paintings
- And more
Total value of all the Varnish Bonuses is: $268.00
When you add that to the $500.00 I could easily charge for Varnish Mastery, we’re up to $768.00 in value.
And it’s worth every penny.
Especially when you consider the amount of money you’ll save when you know these secrets.
But that’s a lot to ask for a digital course…
So, after chatting with my hubby, we initially settled on a price of $249 for Varnish Mastery and all the bonuses.
However…
I’ve been working on this new course for many months…
And I promised a special “launch only” price to my artistic community to say “Thank You” for your support over the years…
Sooooo. To show gratitude for all the wonderful questions and feedback you’ve given over the past several months that lead to Varnish Mastery being made…
You can enroll for just $189
(You SAVE $60.00 instantly!!!)
$189 is a tiny drop in the ocean compared to the satisfaction, joy, and professionalism you’ll see in your art when you use my varnishing secrets to achieve a perfect gallery-grade finish every time.
So click the link below to enroll in Varnish Mastery now:
"Varnish Mastery"
Total value: $768 USD
$189 USD
Enroll now and receive:
✔ Instant access to all the comprehensive course materials
✔ Advanced "Dual Varnish" technique for stunning contrast
✔ Bonus #1 - Downloadable Varnish Checklist
✔ Bonus #2 - How to Choose The Right Sheen (Gloss, Satin, or Matte) For Your Art
✔ Bonus #3 - Varnish Troubleshooting
✔ No expiration date! You can work through the course at your own pace

"Honestly, my first thought when I discovered you had a varnish course was, “Is there really THAT much to know about varnish?” But having taken nearly all of your previous courses, I knew there must be much more to it than I thought. I also wanted to learn your dual-varnish technique, so I took a chance. Wow! You provided so much information about varnish types, brands and techniques I didn’t know--and never thought to ask! (I had been applying 4 coats of spray varnish on all my paintings, based on YouTube advice.) Ha! No more! I was excited to discover your recommended varnish brands. I was also surprised to learn how you accomplish your dual-varnish technique. Thank you, Olga, for yet another practical and in-depth course!"
- Sandra N.
"This varnishing course was everything I had been waiting for! From selecting the right varnish to application techniques, it was packed with valuable insights.The best part for me was learning about the dual varnish technique and understanding satin sheen - it was truly eye-opening!
Just like your other courses, this one is at par in terms of quality and depth. It truly feels like a well-rounded education on fluid art - covering everything from color mastery to fluid techniques, embellishments, and now varnishing.
Thank you for putting together such a thorough and insightful course!"
- Riitu L.
And the best part is…
The course is digital, so you can access it immediately, right now and…
You Can Apply My Varnishing Secrets To Your Paintings As Soon As Tonight
This is the course I wish I had when I varnished my very first painting… because it would have saved me a lot of money, frustration, and I could have avoided ruining some of my favorite early artworks.
So not only is this course inexpensive right now, but it will actually save you money (because you won’t waste money on supplies you don’t need)...
It’ll save you time (because you’ll learn to do it right the first time)...
And it’ll save you the heartache and disappointment of destroying perfectly good paintings.

Plus, You're Completely Protected By My...
100% Money-Back Guarantee
Here’s how it works: Try “Varnish Mastery” for the next 30 days and…
Put the techniques to work on your paintings… Explore the tutorials…
Learn my signature “Dual Varnish” technique… Discover my favorite varnish brands and application methods and…
If after trying the techniques, you decide Varnish Mastery doesn’t show you everything you need to varnish your fluid art like a pro…
…simply let me know via [email protected], and I'll send a refund of every dollar you invested. So you see, there really is no risk…


Two Options For Mastering Varnish…
Which Will You Choose?…
Look. Varnishing isn’t just a finishing touch.
It’s the crucial final step to make your paintings look their best and stay their best for decades to come.
So doesn’t it make sense to give your artwork the very best-quality final varnish coat possible?
If you agree, you have two choices.
- You can go it alone. Make all the mistakes I did. Waste thousands of dollars, hundreds of hours, and possibly ruin some of your favourite paintings in the process…
Or… - You can take the sensible shortcut and...
Grab my course.
Learn from my mistakes.
And benefit from the thousands of dollars and hundreds of hours I spent figuring this out on my own.
Remember, “Varnish Mastery” removes the fear from varnishing and gives you complete control over the process.
It replaces guesswork with a proven system.
And it ensures your paintings are finished flawlessly, without streaks, stickiness, or regret.
When you own “Varnish Mastery” you don’t have to hold your breath as you apply varnish, praying it turns out okay.
You don’t have to gamble with your artwork.
You don’t have to waste time, energy, and expensive materials on trial and error.
Doesn’t that sound like a smarter way to go?
The choice is yours.
But if you want to follow in my footsteps….
You get instant access to the course, even if it’s 1 in the morning
Colorfully yours,
Olga Soby
PS: Knowing the right varnishes to use… and how to use them will not only improve the appearance, vibrancy, protection, longevity, and value of your artwork… it will elevate your confidence and sense of accomplishment as an artist.
That’s why it makes sense to get my comprehensive Varnish Mastery course PLUS the 3 amazing bonuses mentioned above - a total value of $768.00 for just $189
You're fully protected by my 30-day 100% money back guarantee:
If after trying the techniques, you decide Varnish Mastery doesn’t show you everything you need to varnish your fluid art like a pro…
…simply let me know via [email protected], and I'll send a full refund of every dollar you invested.
There’s nothing to lose and a new world of artistic confidence to gain!